
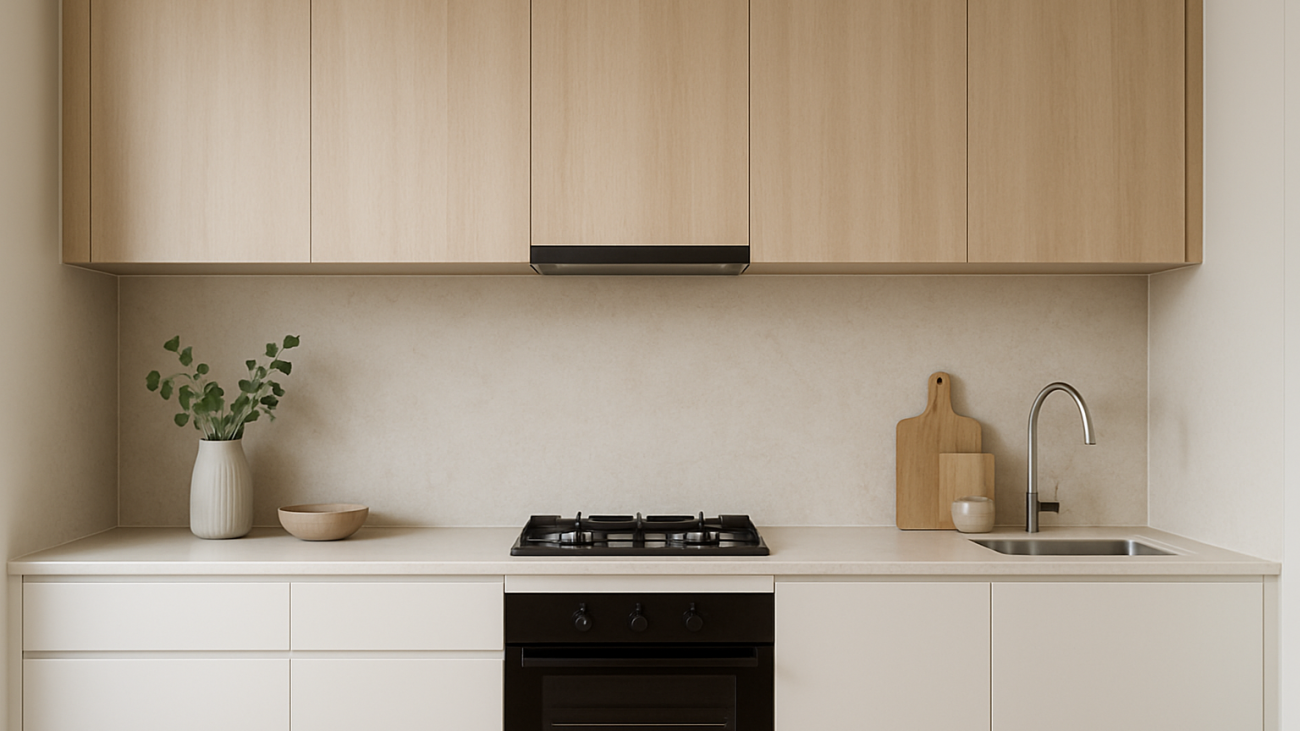
Kitchen splash backs: an in-depth guide and the key considerations before you choose
A splashback looks like a simple finish, until you cook in the kitchen every day.
It sits in the hottest, messiest zone of the room. It has to handle oil, steam, sauces, cleaning products, and the odd knock from a pan.
If you’re weighing up kitchen splash backs for a renovation on the Gold Coast or across South East QLD, this guide is built for real use. It expands on our earlier overview—see Kitchen Splash Backs | Choosing your kitchen splash back—and focuses on the decisions that affect durability, cleaning, and the finished look.
Start with how you actually use the kitchen
Before materials and colours, be clear on the day-to-day.
- Do you cook most nights, or mostly reheat? Heavy cooking puts more pressure on heat resistance and cleanability.
- Is the cooktop used hard? Stir-fry and searing throws more oil than slow cooking.
- Do kids help in the kitchen? Fingerprints and wipe-down speed matter.
- Are you set on a statement benchtop? Busy stone patterns change what works behind it.
Your answers steer you towards the right surface and the right amount of grout, joins, and texture.
The main splashback options (and what they’re like to live with)
Here’s a practical look at popular choices for kitchen splash backs.
1) Tiles (ceramic or porcelain)
Tiles are popular because they suit many styles, from modern to coastal to classic.
Choose tiles if you want:
- Lots of colour and shape options
- A finish that suits older homes and character renovations
- A surface that can be repaired in sections (in some cases)
Key considerations:
- Grout is the real maintenance point. The more grout lines you have, the more cleaning time you sign up for.
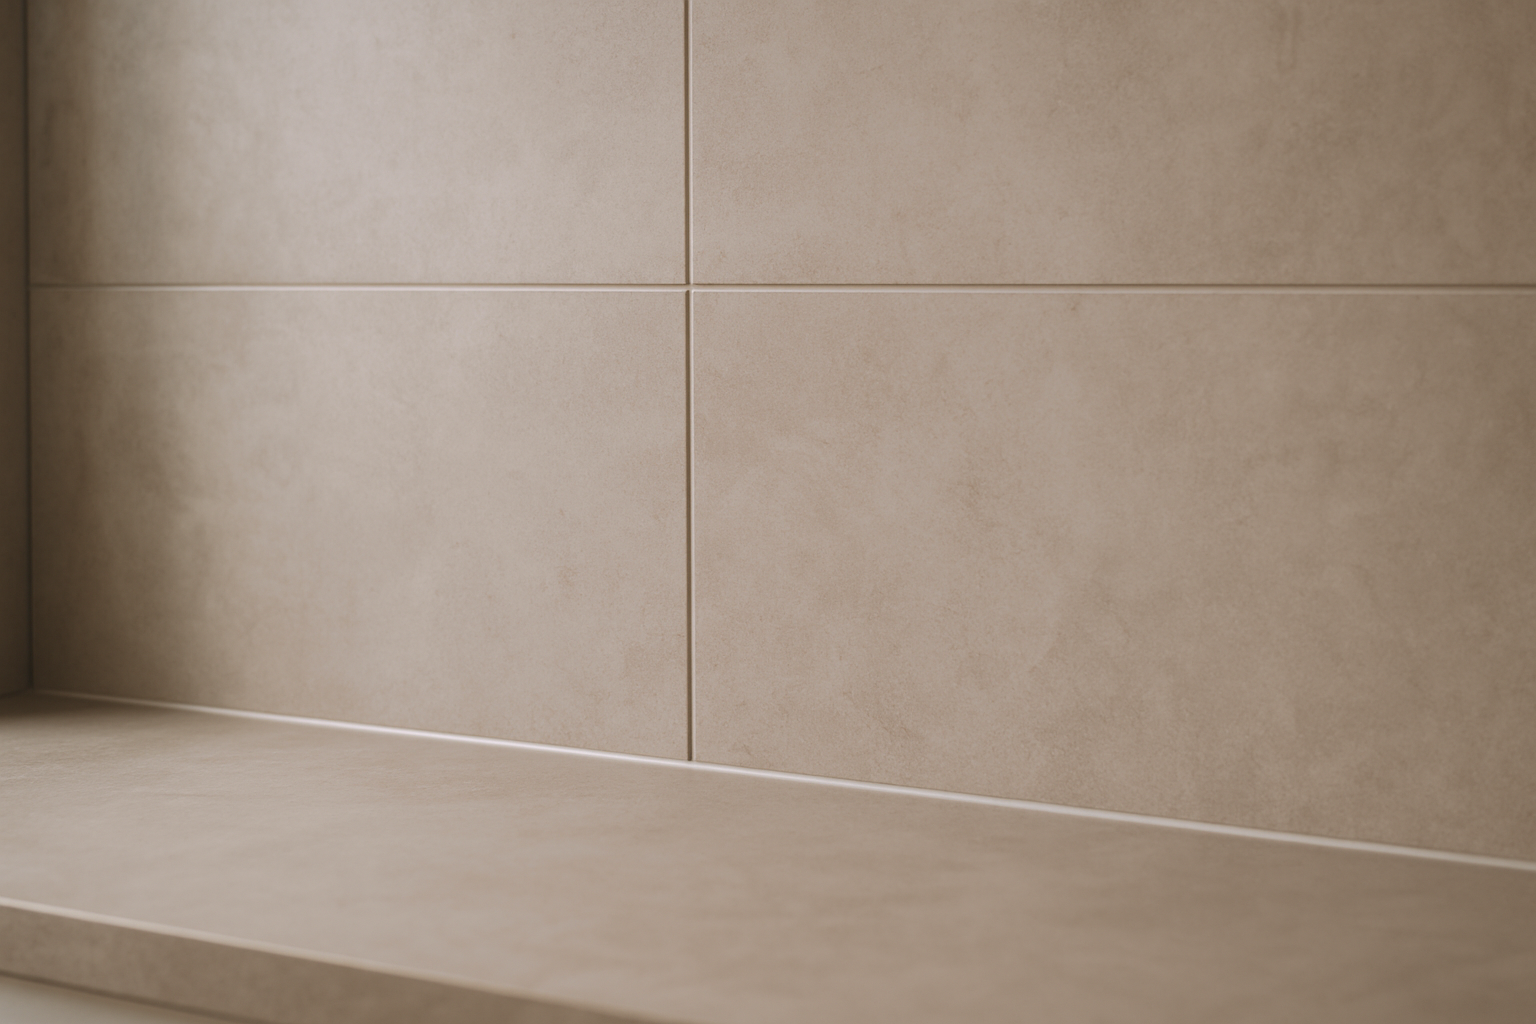
- Bigger tiles = fewer grout lines. Large-format tiles are often easier to keep tidy.
- Gloss vs matt. Gloss shows fewer stains, but can show glare and smears. Matt hides smears, but can hold onto grease if heavily textured.
Straight advice: If your cooktop gets daily use, avoid tiny tiles right behind it unless you’re happy to scrub grout.
2) Toughened glass
Glass gives a smooth, easy-wipe surface with minimal joins.
Choose glass if you want:
- Fast cleaning (especially behind the cooktop)
- A clean, modern look
- Colour matching (painted glass can be matched to many shades)
Key considerations:
- It must be toughened safety glass and measured for the final site conditions.
- Cut-outs matter. Power points, switches, and corners need accurate sizing.
- Reflections and fingerprints. Very dark colours can show marks. Mid tones and lighter colours are often easier.
Straight advice: Don’t lock in the final glass colour until you’ve seen it next to your cabinet and benchtop samples in your lighting.
3) Stone or porcelain slab (including matching the benchtop)
A slab splashback (engineered stone, porcelain, or natural stone) can run as a single sheet or in large panels.
Choose a slab if you want:
- A joined-up look with the benchtop
- Fewer lines and a calmer wall surface
- Easy wipe-down with minimal detailing
Key considerations:
- Joins still exist. The goal is fewer joins, not zero.
- Pattern direction. Veining and movement need planning so it looks intentional.
- Edge and corner finishing. Ask how corners and returns will be finished.
Straight advice: If your benchtop has strong veining, keep the splashback quieter, or commit to a matched slab for a clean, designed look.
4) Stainless steel (often behind the cooktop)
Stainless steel is common in commercial kitchens and works well in hardworking homes.
Choose stainless if you want:
- Heat resistance and toughness
- A practical surface behind a high-use cooktop
- A modern or industrial look
Key considerations:
- It scratches over time. That’s normal and part of the finish.
- It shows fingerprints more than most surfaces.
Straight advice: Stainless is excellent as a targeted panel behind the cooktop, paired with another finish elsewhere.
Height options: standard, extended, and full-height
Splashback height changes both the look and the cleaning load.
Standard height (benchtop to overhead cupboards)
This is a common, cost-aware approach and suits most layouts.
- Clean, simple line under the overheads
- Works well with tiles, glass, and slabs
Extended height (past overheads in key areas)
Useful if you have:
- A return wall where splashes travel
- Open shelves near the sink
- A feature section you want to frame
Full-height (benchtop to rangehood or ceiling)
Full-height makes sense if you:
- Don’t have overhead cupboards
- Want fewer joins and a stronger design feature
- Prefer a wall that’s easy to wipe down from top to bottom
If you’re building a modern kitchen, full-height splashbacks often pair well with clean cabinetry lines. For inspiration on overall styling, see Modern kitchen designs and ideas.
Heat, steam, and cooking zones: what actually matters
Not every splashback surface performs the same behind a cooktop.
Use this as a quick guide:
- Behind a high-output gas cooktop: choose a surface that handles heat well and stays easy to clean (glass, slab, stainless, or appropriately rated tiles).
- Behind an induction or electric cooktop: you still get oil and steam, so cleaning matters as much as heat.
- Near the kettle, toaster, and coffee machine: steam and splatter marks show up. Smooth surfaces wipe down faster.
If you cook with a wok, plan for a bigger “easy-clean zone” behind and beside the cooktop.
Grout and joins: the details that decide long-term satisfaction
Most disappointment with tiled kitchen splash backs comes down to grout choice and workmanship.
Choose tile size with maintenance in mind
- Small tiles: more grout lines, more scrubbing
- Large tiles: fewer grout lines, easier cleaning
- Textured tiles: can hold grease in the texture
Pick grout colour like you’re picking a paint colour
- Light grout looks crisp, but shows stains faster.
- Dark grout hides stains, but can dominate the look.
- Mid-tone grout often feels calmer and stays looking clean for longer.
Ask how the benchtop joint will be finished
The joint where the splashback meets the benchtop needs a neat, flexible seal. This is a small line you see every day.
Colour and pattern: how to get it right with cabinets and benchtops
A practical rule: tie the splashback to one or two fixed elements, not everything.
If your benchtop has movement (veins, speckle, strong pattern)
- Choose a simpler splashback so the room feels balanced.
- Use a quieter tile, a soft neutral glass, or a slab that matches.
If your benchtop is plain
- The splashback can carry the feature: a patterned tile, a texture, or a bolder colour.
If you want a bold splashback colour
Keep the rest steady:
- calm cabinets
- simple handles
- minimal competing patterns
If you’re unsure, ask for your selections to be shown together in the design stage. We provide 3D renders as part of our design process, so you can see how the wall finish sits with the cabinetry and benchtop before anything is ordered.
Cleaning reality check: what you will wipe, and how often
Be honest about your cleaning habits. It’s not about “right” or “wrong”. It’s about picking a surface you’ll stay happy with.
- Fastest daily wipe-down: glass, slab, stainless
- Most forgiving for splashes (visually): patterned tiles, mid-tone colours
- Most time spent cleaning: small tiles with light grout behind a busy cooktop
If you want the look of small tiles, keep them away from the cooktop zone and use a larger, smoother finish behind the heat.
Power points, windows, and edges: plan the awkward parts early
Splashback layouts get tricky around:
- power points and switches
- window sills
- return ends next to tall cabinets
- exposed edges near walkways
Good planning keeps the end result neat.
Bring these decisions into your design appointment:
- Where do you actually want appliances plugged in?
- Do you want power points hidden under overheads?
- Will your splashback return around a corner for protection?
Small layout choices here stop the splashback looking “tacked on” at the end.
Installation sequence and lead times: what to expect
Splashbacks often come late in the build because accurate measuring matters.
A common sequence looks like this:
- Cabinetry installed
- Benchtops installed
- Final measure for glass or slabs
- Splashback installed
Tiles can be installed earlier or later depending on site access and scheduling. The goal is the same: a straight finish, tidy edges, and a properly sealed benchtop joint.
If you’re planning a full kitchen build, this process view helps: Building kitchens on the Gold Coast.
A quick decision guide (choose based on your priorities)
If you want the easiest cleaning:
- Glass or full-height slab
If you want the most design flexibility:
- Tiles (but choose tile size and grout with maintenance in mind)
If you want a calm, “designed” finish:
- Slab splashback that matches or complements the benchtop
If you cook hard and want toughness behind the cooktop:
- Stainless panel or a smooth, easy-clean surface in that zone
Next step: get your splashback planned with the rest of the kitchen
A splashback choice works best when it’s planned alongside the cabinetry, benchtop, lighting, and power points.
If you’re renovating on the Gold Coast or in South East QLD, Pinnacle Kitchens designs, manufactures, and installs custom kitchens with in-house licensed installers. We’ll help you select a splashback that suits how you cook, and present it in 3D so you can sign off with confidence.
To understand how we work and what to expect, read Why Pinnacle Kitchens?, then get in touch to book a design consult.
If you’re also working through overall renovation costs, this may help: Your new kitchen is more affordable than ever before (48 months interest-free, T’s & C’s apply).
FAQs
What is the most practical splashback for a busy family kitchen?
For low-fuss cleaning, choose a single-sheet option like toughened glass or a full-height slab (engineered stone, porcelain, or natural stone). Fewer joins means less grime build-up. If you prefer tiles, use larger-format tiles with a quality grout and ask for a neat silicone joint at the benchtop to reduce maintenance.
How high should a kitchen splashback be in Australia?
Most tiled or glass splashbacks run from the benchtop to the underside of overhead cupboards. If you have open shelving or no overheads, a full-height splashback (benchtop to rangehood or ceiling) gives better wall protection and a stronger design feature. Your exact height depends on cabinetry, power point locations, and rangehood design.
Is glass safe behind a cooktop?
Yes—if it is toughened safety glass and installed correctly. The critical detail is making sure the final measured size accounts for cabinetry, wall conditions, and cut-outs. Ask your kitchen builder how the glass is measured after cabinets are installed, and confirm edge finishes and cut-outs for power points.
Are tiled splashbacks hard to keep clean?
Tiles clean well, but grout lines are the ongoing work. If you cook often, choose larger tiles (fewer grout lines), a grout colour that matches the tile, and a grout type suited to kitchen grease and staining. The tile itself is rarely the issue—grout choice and workmanship make the difference.
Can I use the same stone as my benchtop as a splashback?
Yes. Matching the benchtop into the splashback creates a calm, high-end look and is easy to wipe down because there are fewer joins. Check thickness, weight, and wall prep requirements, and confirm how the joins will be finished at corners and where it meets the rangehood.
Do splashbacks go in before or after the benchtop?
In most kitchen builds, cabinetry goes in first, then benchtops, then the splashback is measured and installed. Glass and slab splashbacks are usually measured after benchtops are in place for a precise fit. Tiles can be installed earlier or later depending on the project sequence and site access, but the benchtop-to-splashback junction must be sealed properly.
What should I avoid with kitchen splashbacks?
Avoid choosing a splashback based only on a showroom photo. In a real kitchen, practical issues show up fast: too many grout lines behind the cooktop, a light tile that shows every mark, a glossy surface that highlights fingerprints, or a design that conflicts with your benchtop pattern. Also avoid locking in a glass colour before you have final cabinet and benchtop samples in the same light.
How do I choose a splashback colour that won’t date quickly?
Tie the splashback to one or two fixed elements: benchtop colour and cabinet finish. If your benchtop has movement (veining or speckle), a quieter splashback keeps the kitchen balanced. If your benchtop is plain, the splashback can carry more pattern or texture. For long-term appeal, lean on warm neutrals, soft whites, and natural textures rather than strong feature colours.